Information provided by AAA’s Discounts & Rewards Partner: NAPA AUTO PARTS
Many drivers avoid working on their own vehicles out of fear that they don’t have the expertise or the time. Some vehicle owners imagine a sizable garage full of tools is required for a standard repair. But investing yourself in an at-home vehicle repair is rewarding and can ultimately save you time and money in the long run. You don’t need a bunch of fancy tools or a big garage to complete routine maintenance.
Learn how to perform three straightforward vehicle repairs at home as part of your regular vehicle upkeep: checking your tire pressure, cleaning your headlights, and changing wiper blades. With the right tools and tips, adhering to a routine maintenance schedule prevents critical failures and expensive repairs – plus they keep your ride on the road longer!

No Pressure: How To Check Tire Pressure
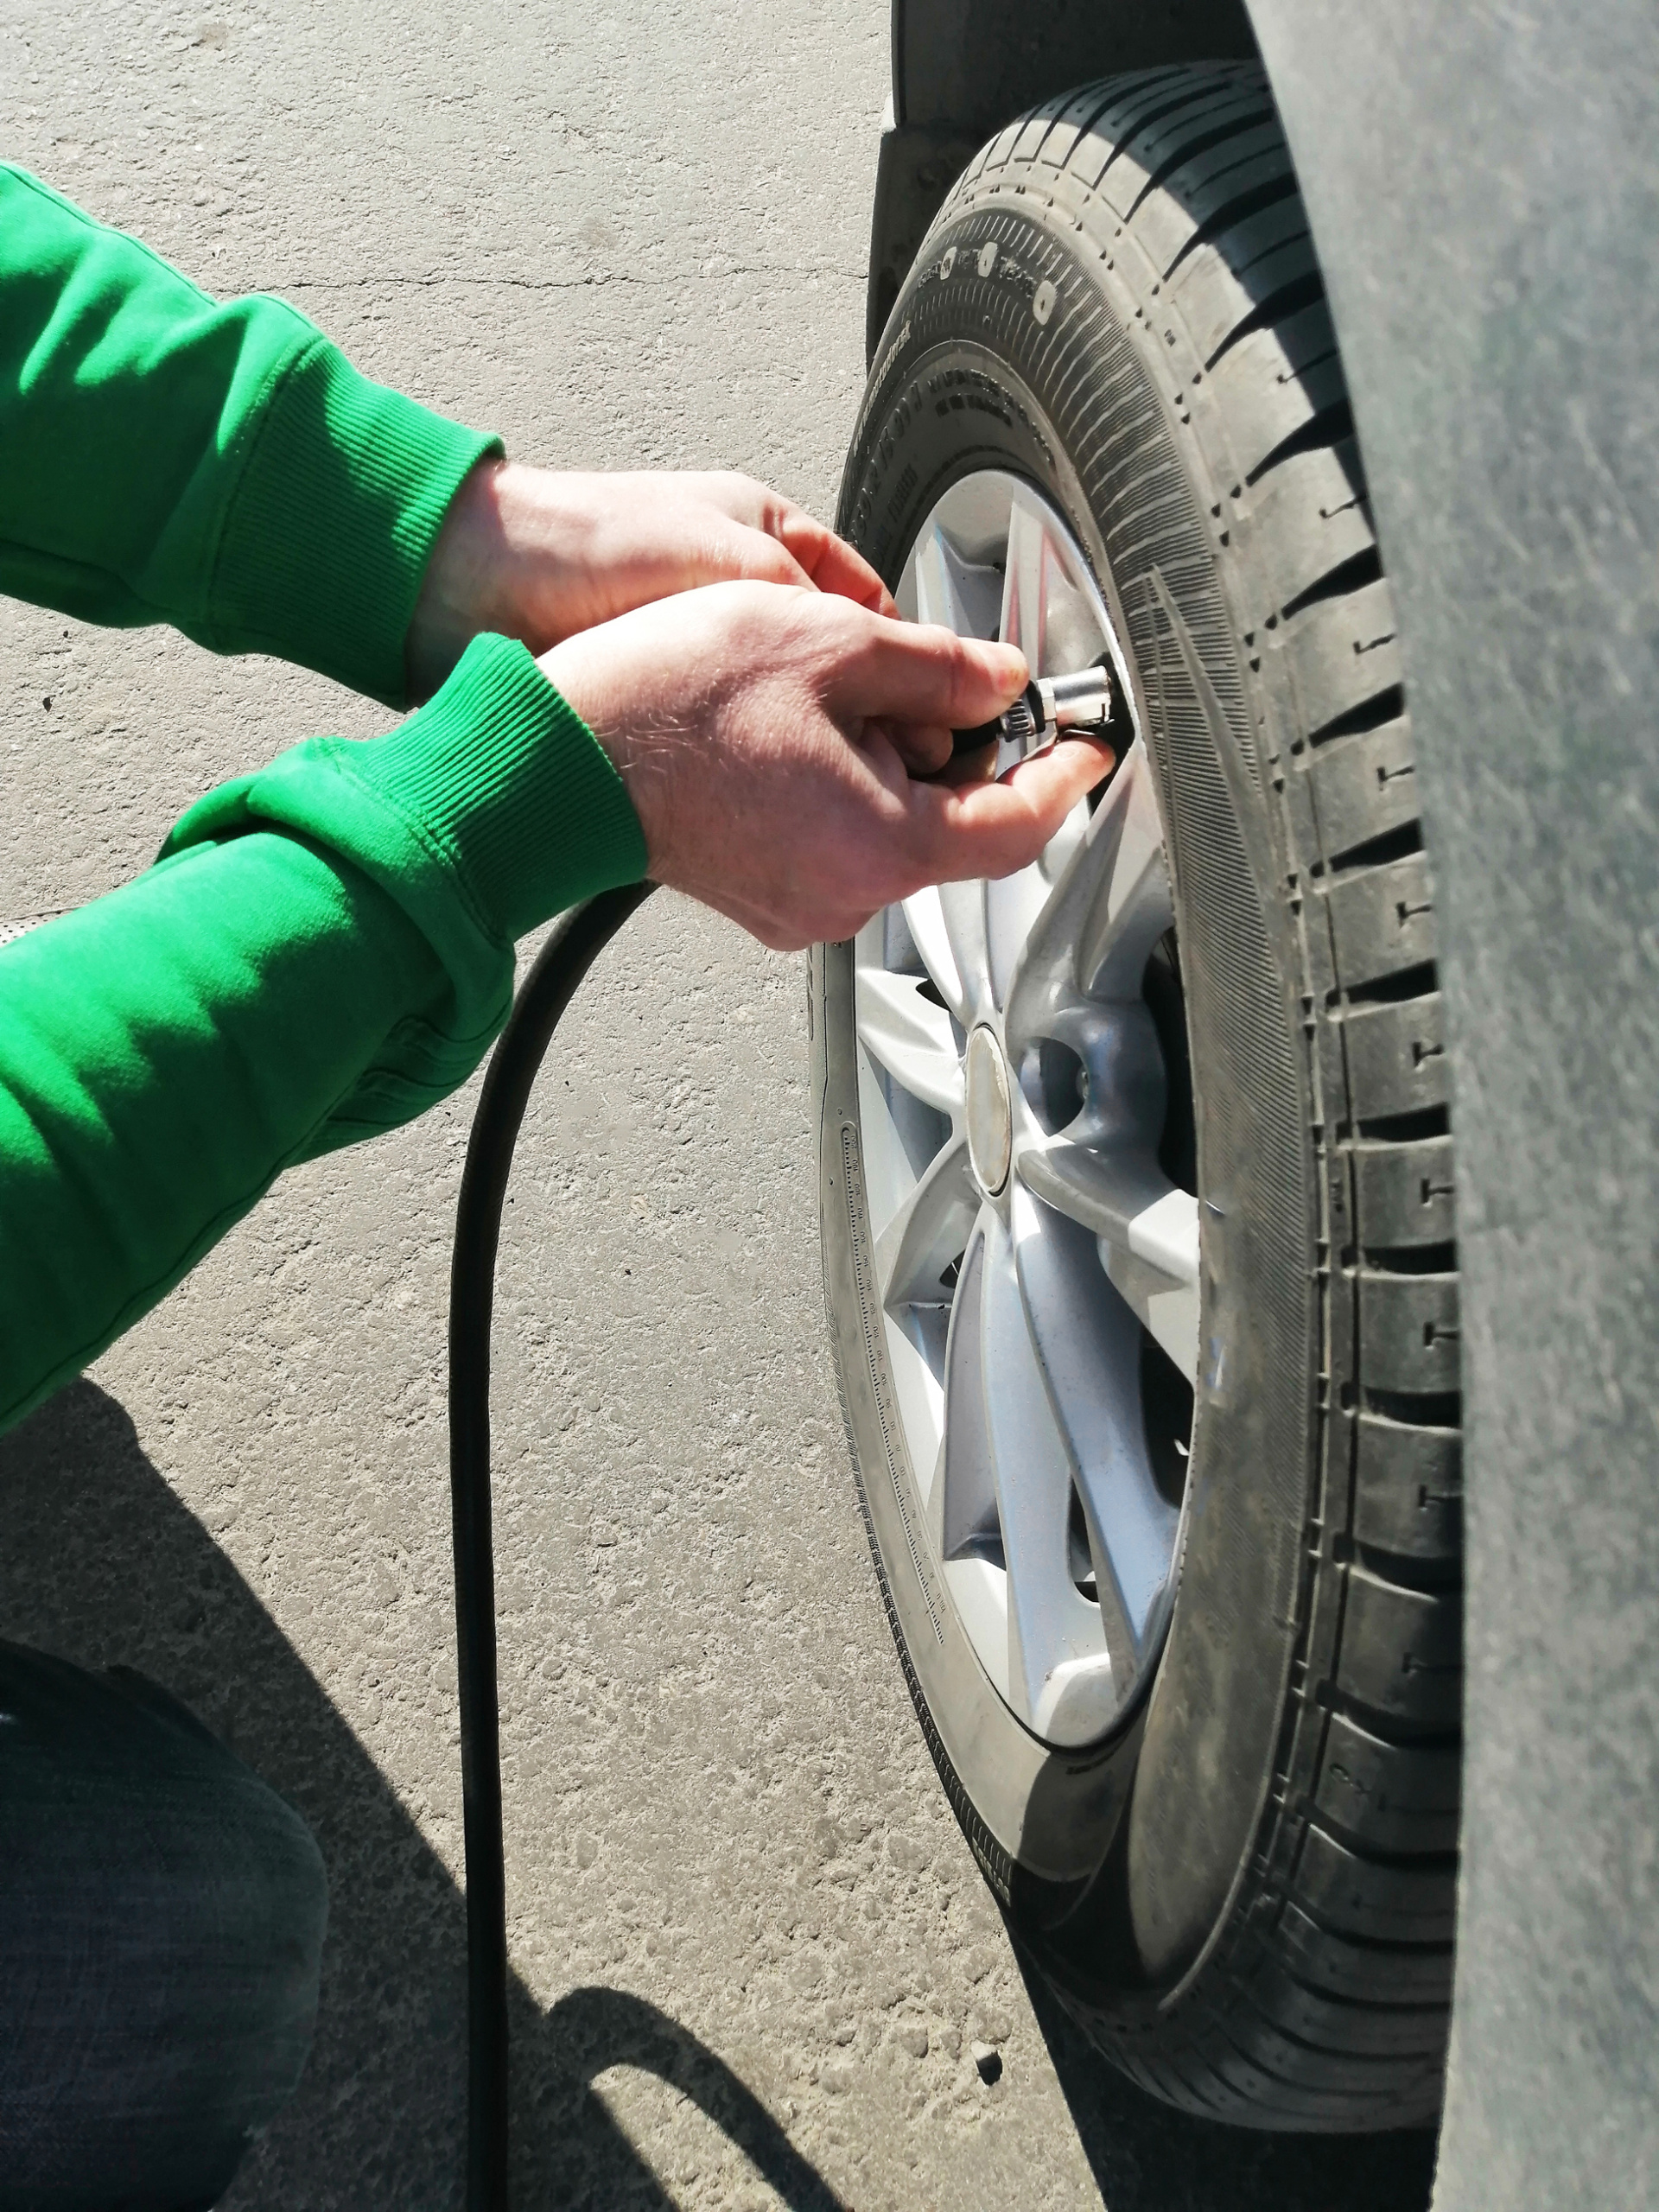
If you drive any type of car, then you should learn how to check tire pressure. It only takes a few minutes and requires just one simple tool. Accurate tire pressure is crucial for your safety, since an underinflated tire makes the car harder to steer and can blow out while you’re on the road. Here are some tips for how to check tire pressure:
1. Get The Right Tools For The Job
First, you need a tire pressure gauge; there are several varieties — stick gauges look like a ballpoint pen and are usually the most affordable option, though not as easy to read. Digital gauges are more expensive but provide the exact pressure reading on an LCD display. Finally, there are dial gauges that have a face like a clock. In the end, it doesn’t matter which gauge you use because they all do the same thing.
2. Check Pressure When Tires Are Cold
You should always check your tire pressure when the tires are cold. When you drive your car, the tires and the air inside them get warm. Warm air expands, which creates an inaccurate reading when you check tire pressure. The best time to check tire pressure is when the car hasn’t been driven for at least three hours.
3. Clean The Valve Stem
The valve stem sticks up slightly from within the metal wheel and has a cap that screws off, so you can attach the tire pressure gauge to your tire. Before you remove the cap, wipe the valve stem off with a towel or rag. This keeps dirt, sand, road salt and grime from getting inside the valve stem when you remove the cap. Dirt can clog the stem, making it difficult to add air, which creates inaccurate readings when you check the pressure.
4. Take The Tire Pressure Reading
Once you unscrew the cap from the valve stem, place the gauge onto the stem. You may hear a little hiss of air when you first attach the gauge, and that’s normal. That brief release won’t significantly reduce your tire pressure.
A digital gauge displays the exact tire pressure, while a dial gauge has a needle that swings up until it reaches the current tire pressure. A stick gauge has a stick that pops out of the back end with numbers that indicate the tire pressure.
What Does The Number Mean?
That number is the psi, which stands for pounds per square inch. You can find the recommended PSI for your vehicle’s tires by looking at the sticker inside the driver’s door jamb or in your owner’s manual. If the measured psi is below recommendations, then it’s time to add air.
How Often Should I Check?
A good rule of thumb is to check your tire pressure in every tire at least once per month. It’s also a good idea to check it when the seasons change, especially in the fall. Colder weather often requires adding a little extra air to your tires.
If in doubt, break out that tire pressure gauge. Keep it handy in your car, so you can be sure your tires are always properly inflated.

Clear The Way: How To Clean Headlights
Headlights are essential for visibility and safety, so it’s always important to keep them in the best possible condition. Without them, you can’t see the road ahead, and other drivers will have a harder time seeing you. It’s obvious when you need to replace a burned-out bulb or cracked glass, but you might not notice that your headlight lenses have slowly fogged up, dulled or yellowed over time, compromising your view of the road. The good news is that it’s easy to clean them. Read on to find out how to clean headlights and ensure that the road ahead — and everything in it — is brightly lit.
1. Clean Surface Debris
The first step is to remove any surface dirt and debris so that you’re working with a headlight that’s as clean as possible. Use a mild cleanser and a soft cloth to wipe away dirt, tar, bugs and anything else that’s stuck to the headlight. Dry the surface completely before you move on to the next step.
2. Apply Headlight Restorer
You can pick up a headlight restoration kit that includes everything you need to clean your headlights, or you can purchase the supplies individually. You’ll want to start by applying painter’s tape to protect the paint around the headlight. Then, apply the restorer to the headlight. Be sure to cover the entire lens per the directions on the packaging.
3. Sand It Down
Using an abrasive pad or very fine sandpaper (at least 400 grit or finer), work the restorer into the headlight lens with straight, horizontal strokes. Make sure you keep the surface wet to avoid scratching the headlight due to grit buildup. You can work your way down from low (400 grit) to medium (600 grit) to fine grit (1,500 – 3,000 grit). Change from horizontal to diagonal strokes when you change to medium grit, and then use diagonal strokes in the opposite direction for the finest grit.
Sure, it can feel weird to use sandpaper on anything on your car, but it works for removing the cloudiness from your headlights. Don’t be afraid to spend some time doing the work. The better the job you do with sanding, the clearer the light when you’re done.
4. Give It Some Shine
Once you’re done sanding, it’s time to clean and polish the light. First, wipe off the restorer and dry the headlight. Next, apply a polishing compound to a clean cloth and buff it into your headlight in a circular motion.
Clean your headlights whenever you notice that they’re starting to get cloudy, or add it to your summer vehicle maintenance checklist. You’ll be able to see the difference when you look at the headlights and, more importantly, when you take your car out for a ride on a dark road.

No More Losing Streaks: How To Change Wiper Blades
You may not consider your windshield wiper blades a very important part of your routine vehicle maintenance. It’s easy to forget that these essential components can wear down, and no one wants to get caught in a rainstorm with windshield wipers that can’t do the job. If your wipers are leaving behind streaks or jumping and squealing over the glass, it’s time to replace your wiper blades.
Do your research and figure out the correct length of wiper blades for your vehicle. Using the incorrect blade size can put undue strain on the wiper arms and wiper motor, which could mean they wear out faster. Consider the climate you in which you live and the time of year you use your wipers the most. In the winter, make sure your windshield is always deiced before engaging your wipers. Avoid engaging your wipers in the summer without moisture present on the windshield.
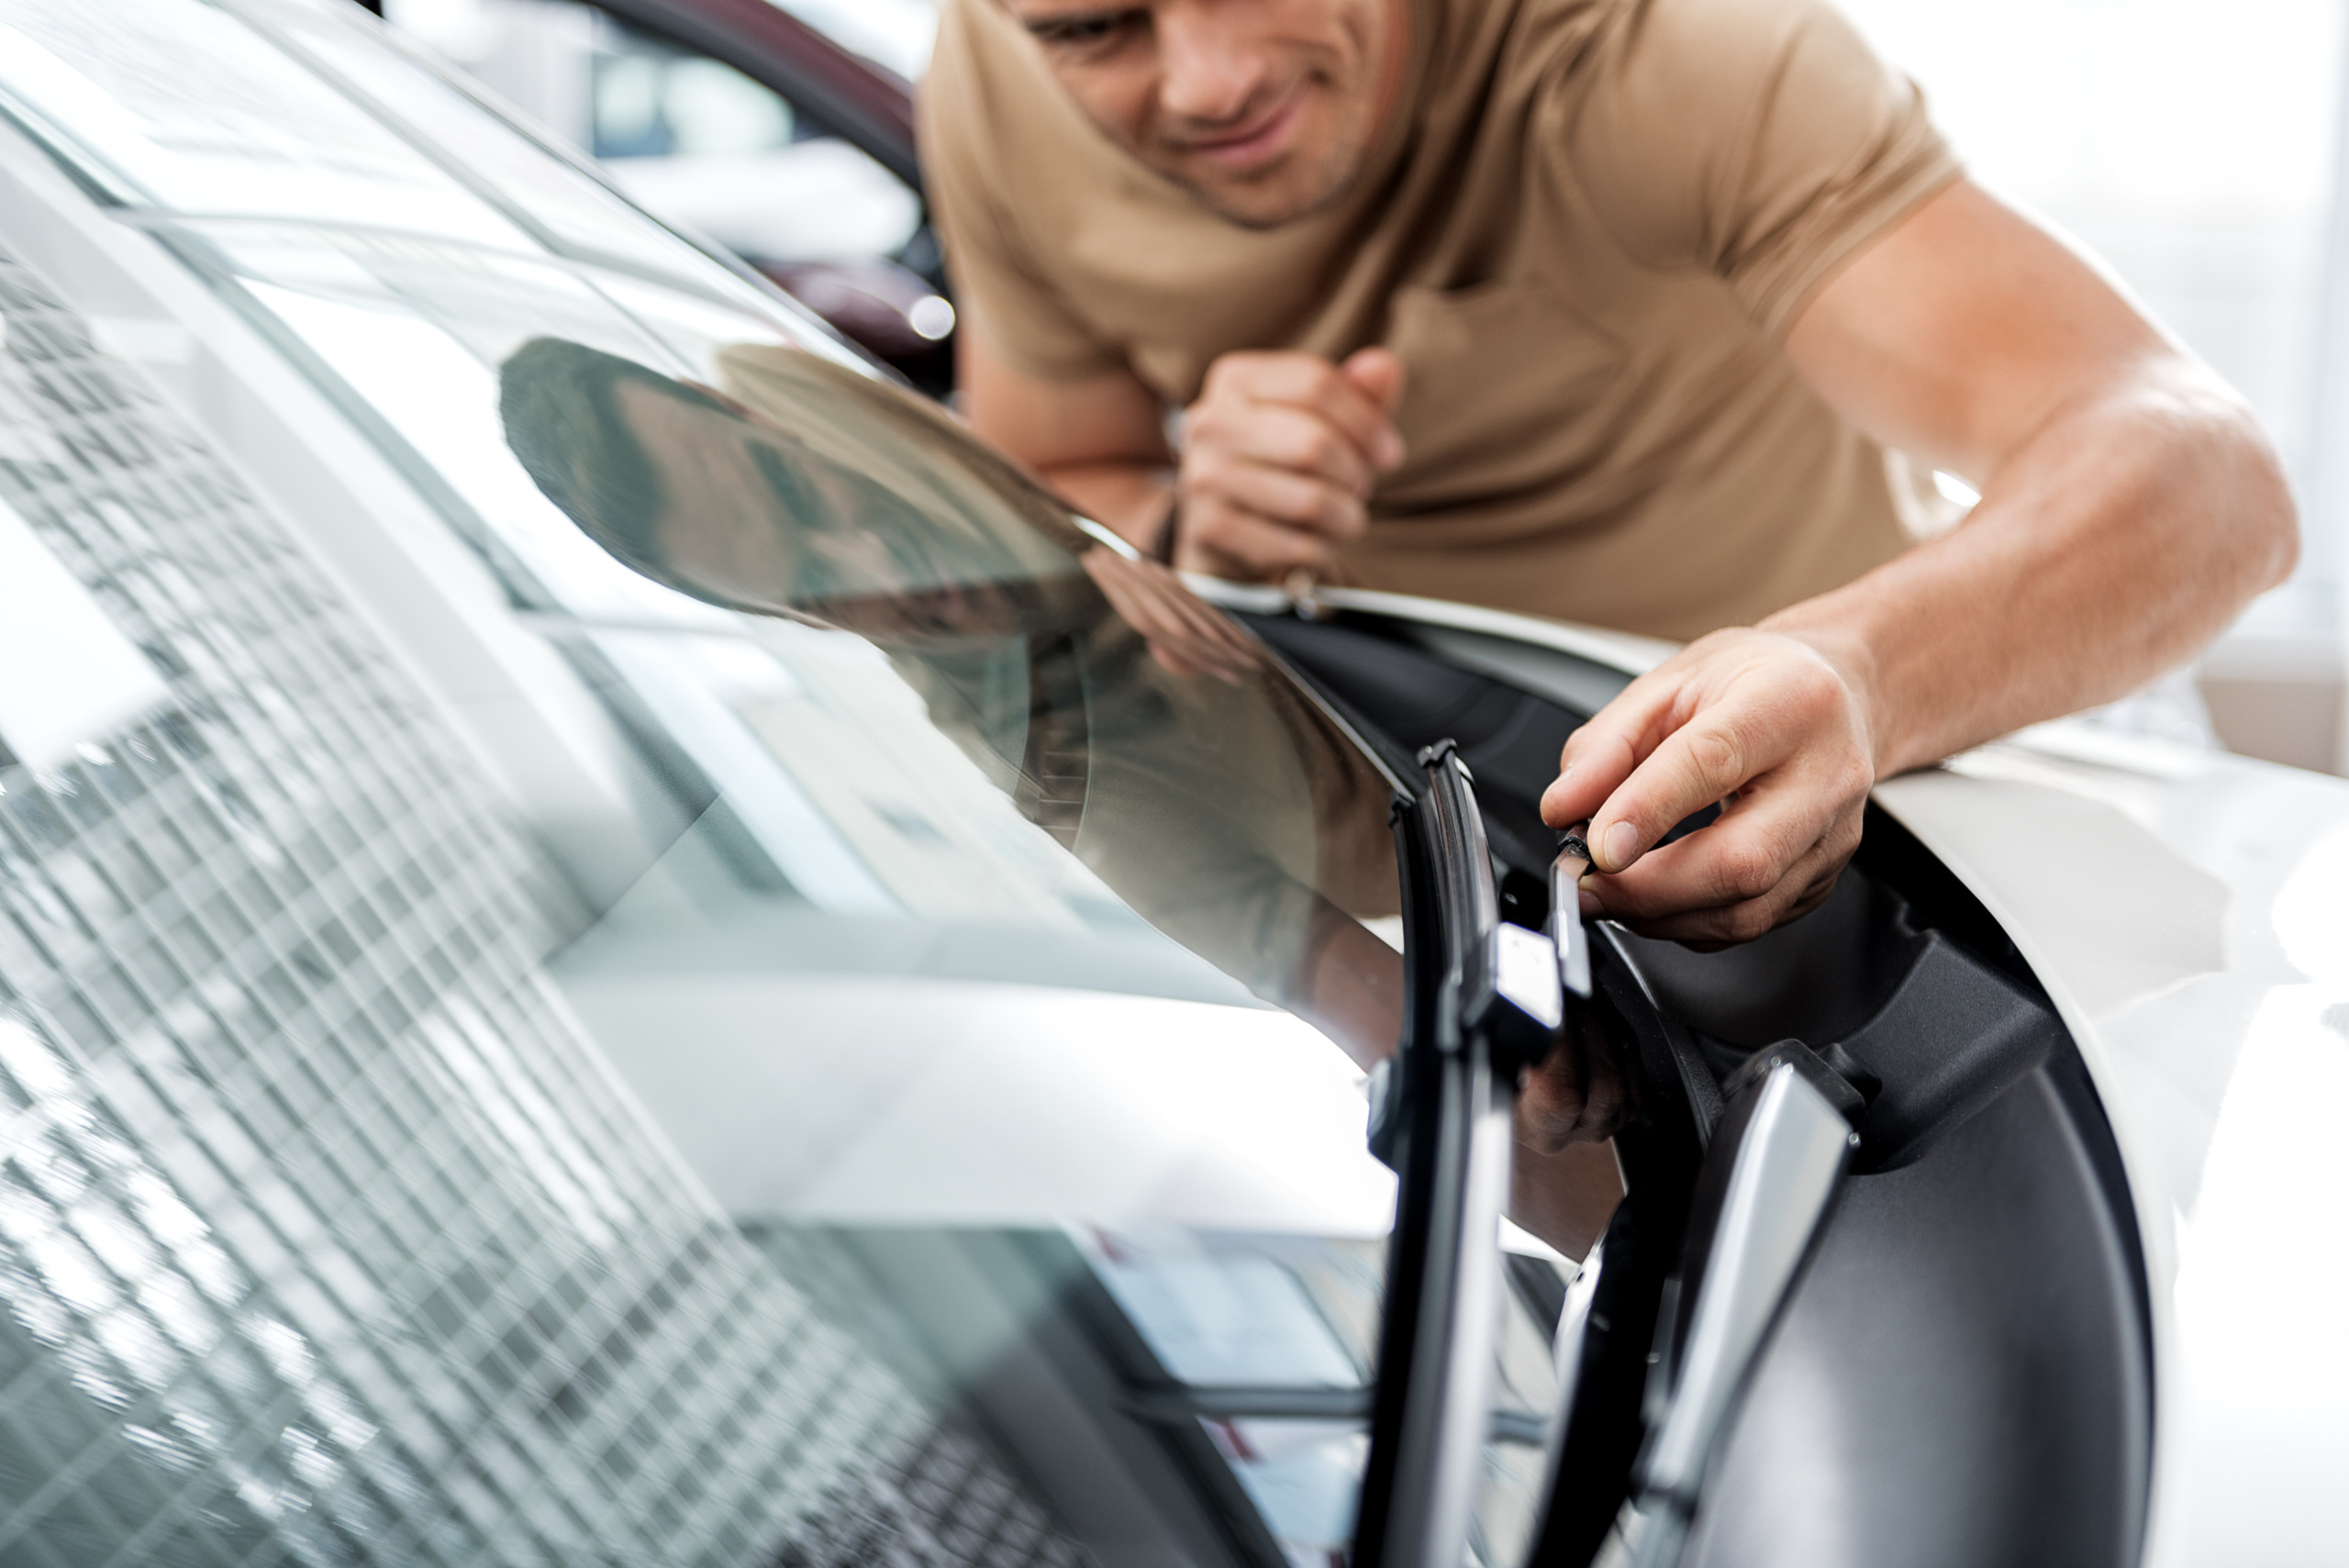
Once you have the correct blades for your vehicle, turn off the engine, then lift and secure the wiper arms. If your wiper arms are spring-loaded, lay a towel over your windshield while replacing the blades to avoid cracking your windshield if the arm springs back into place. Once replaced, test the wipers to make sure they work using a hose or your windshield washer function. While you’re replacing your wiper blades, check that the arms aren’t warped or cracked and clear out any leaves and debris that can collect in the air intake at the base of your windshield.
AAA Is Here To Help!
While acting as your own mechanic is a great way to give a little love back to your ride, it’s not always easy to get under the hood yourself. Whether your baby is a premium SUV, a reliable sedan or a beloved old jalopy, you can always trust a AAA Approved Auto Repair shop to get the job done right!

