January 2024 Insurance Newsletter
Check out the articles below for helpful hints and answers to commonly asked offering invaluable tips and answers to common winter-related inquiries. From ensuring your heating systems are operating efficiently to providing guidance on snowmobile and auto safety, we’ve got you covered.
Whatever your winter concerns, our knowledgeable team is ready to provide insights and ensure you’re well-prepared for the chilly months ahead. Trust AAA to keep you informed and protected throughout the winter season.

Fireplace Safety Tips
Different kinds of fireplaces have different guidelines for operation, safety, cleaning, etc., so do your research and know the risks that are specific to your home.
Always keep a fire extinguisher on hand
It only takes a moment for something to go wrong, and you don’t ever want to be caught without a fire extinguisher in reach.
Never leave a fire unattended
If you’re wondering if it’s safe to keep a fire burning at night, the answer is no. Someone should always be in direct view of the fire.
There are special considerations for fireplace safety for babies, children and pets
Never leave children unsupervised around fires, and consider a fireplace safety screen to provide an extra layer of protection. If your kids are old enough, make sure you explain the dangers of fire and educate them about what to do if something goes wrong.
Keep an eye on your pets
They may be drawn to snuggle up close to the warmth, but you don’t want them getting too close or staying there too long, risking a painful burn.
Make sure the damper or the flue is open before you start a fire
Don’t close it until the fire is completely out, with no more embers burning or glowing.
The more smoke your fire produces, the more soot builds up in your chimney.
Use dry, aged wood, which produces less smoke. Clean out ashes from previous fires to allow for better air supply to the logs, which will help them burn cleanly. Have your chimney inspected by a professional every year. This should not be a case of “out of sight, out of mind.”
Wondering what kind of wood to burn?
To prevent the spread of potentially destructive pests such as the emerald ash borer, use only local wood in your fireplace. Never burn plywood, or painted or pressure-treated wood. This kind of fuel could release harmful chemicals that could enter your living space.
Before you start a fire, have a look around and make sure anything that’s potentially flammable is away from the fireplace.
Keep the area around the fireplace clear of curtains, furniture, books, etc.
Make sure you have smoke and carbon monoxide detectors in your home
Test them monthly. This is solid advice even if you don’t have a fireplace!
Heat Your Home Safely
1. Use the right equipment
Be aware that mobile homes require specially designed heating equipment. Only electric or vented fuel-fired heaters should be used.
2. Inspect your furnace
Check annually to ensure controls and emergency shutoffs are in proper working condition and the flue pipe and pipe seams are well supported and free of cracks.
3. Replace your filter
Replace or clean your furnace filter about four times per year. A new filter makes your furnace more energy-efficient and saves money.
4. Set up annual service
Have your furnace cleaned and checked by a professional every year. The older the furnace, the more important this service is. Newer gas furnaces are equipped with many features that shut the furnace off when a problem is detected. Older furnaces don’t have this.
5. Clear some space
Keep all potential sources of fuel such as paper, clothing, bedding, curtains or rugs at least three feet away from your furnace, space heater, stove or fireplace.
6. Check register vents
Be sure at least 80% of the registers in your home are open. If you close too many off, you may get unnecessary heat buildup in the furnace.
7. Be cautious of carbon monoxide
Virtually every gas furnace produces some carbon monoxide, but an inefficient or dirty furnace can produce deadly amounts. Carbon monoxide is an odorless, colorless gas which can cause flu-like symptoms, disorientation, confusion and even death.
8. Use safety with space heaters
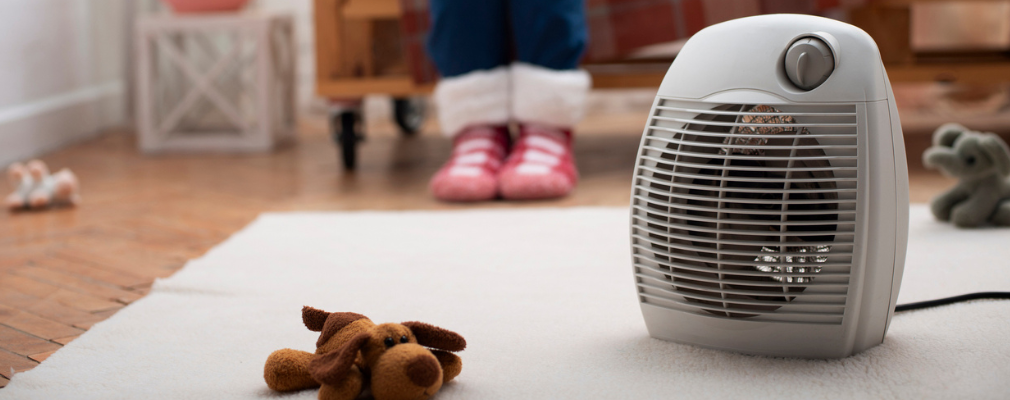
If you must use a space heater, place it on a level, hard non-flammable surface at least three feet from anything that may burn. Look for models that shut off automatically if the heater falls over, and never leave them on when you’re sleeping or away.
9. Follow fuel guidelines
Make certain you follow manufacturer recommendations and use the right kind of fuel for fuel burning space heaters.
Winter Snowmobile Prep
1. Inspection
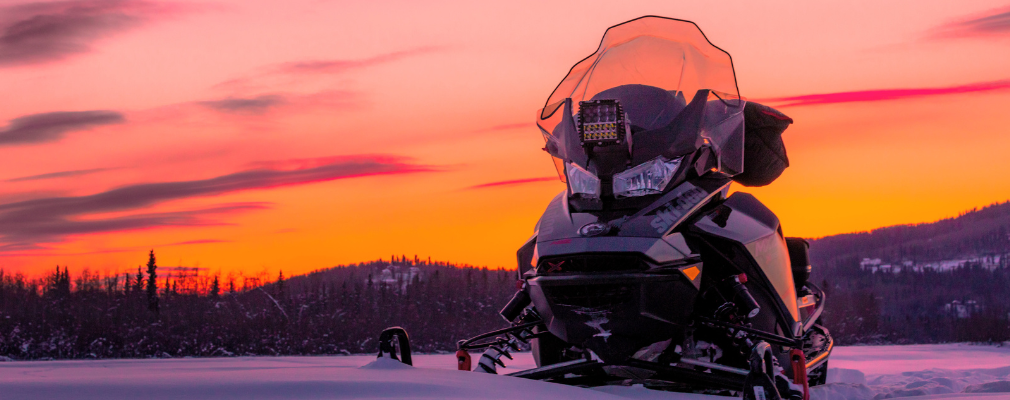
The first step is an overall inspection of the snowmobile’s parts. This would include looking for cracks, excessive wear and tear, and anything that might have come loose. Anything used to block air intake or exhaust pipes should be unplugged. And it’s a good idea to make sure the vehicle hasn’t collected any unexpected stowaways while in storage, such as mice!
2. Checking levels
Fluids such as gas, brake fluid and coolant should all be checked and topped off if low. If there is remaining gas in the tank from the previous season, it’s suggested that the tank be drained and filled up with fresh gas.
3. Evaluating the engine
Checking that carburetors are clean is important as dirty ones are a main cause of engine failure. Also, snowmobilers should make sure that the throttle, oil cables, fan and water pump belt are in good condition and without cracks.
4. Examining the skis
Since skis are one of the most important pieces of the snowmobile, they should be checked not only for any holes, cuts or gouges, but to ensure that the runners are aligned straight!
5. Cleaning it up
Dirt, salt, leaves and other debris are all commonly found on snowmobiles coming out of storage. Most of it can probably be cleaned off with water and mild cleansers. However, where a deeper cleaning may be needed or desired, it can be done at a local shop or car wash.
All these steps are equally important when preparing the snowmobile for storage at the end of the season. But in the meantime, get out and enjoy the snow while you can!
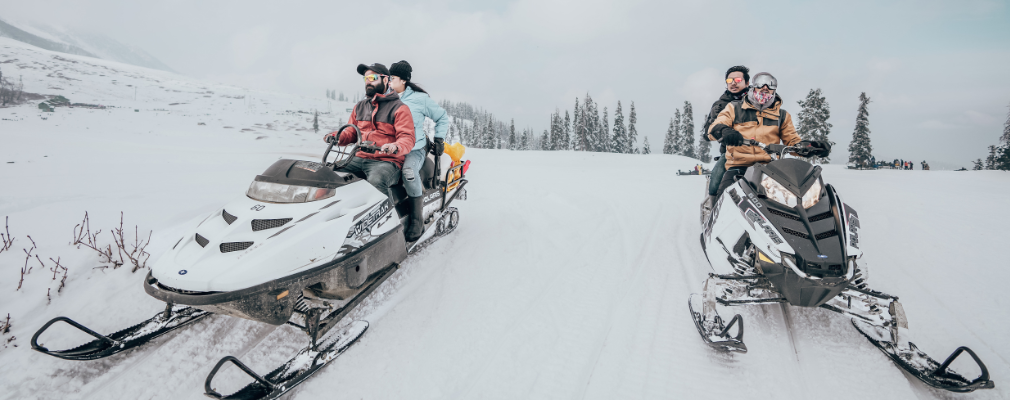
Snowmobile Buying Guide
1. Consider your skill level and goals
When shopping for your first snowmobile, buying the fastest one you can find may not be the best decision. Some snowmobiles can be easier for beginner riders to handle. Similarly, advanced riders may need more functionality than beginners. Understanding your skill level and your goals for riding is essential in the snowmobile buying process.
2. Research the market
Once you know what type of experience you’re looking for, you can start looking for models that align. Buying snowmobiles is a lot like buying cars. The plethora of options can overwhelm some people, but if you know what you want, the process can be a lot easier.
3. Set your budget
As you’re looking, the market will give you a good idea of what you’ll likely have to spend. With that information, you can set a budget. It may be wise to set a budget that’s a bit lower than what you can actually afford, so you have room to come up a bit if you absolutely need to.
4. Research multiple dealers
The dealer you shop with is very important when buying a snowmobile. Dealers that specialize in snowmobiles can be more knowledgeable than dealers that sell snowmobiles among other things. This can be important because a dealer who knows more about the product you’re buying can help you make a more informed decision.
5. Research whether an extended warranty may be right for you
You may be offered an extended warranty on your purchase. Knowing beforehand what repairs or services are typically covered by these types of products can help you make an informed decision based on your needs. As for the things that aren’t covered under warranties, snowmobile insurance may help.

How Does Renters Insurance Work?
Renters insurance helps protect your personal property inside your apartment — your electronics, furniture and clothing — unlike a homeowners policy that generally covers the building as well as what’s inside. In insurance speak, protection for your personal property is also known as “contents coverage.” And, as a renter, if you invest in updating items such as built-in appliances or bathroom fixtures, you may be able to apply a percentage of your contents coverage to repair or replace what has been damaged.
Renters insurance can also protect your personal possessions from theft, fire, vandalism and other hazards, both at home and anywhere in the world. So if there’s a theft at the hotel you’re staying at while on vacation, your renters insurance may help you replace your stuff the same way it would if your things were stolen from your apartment.
Things to Know About Renters and Landlord Insurance
So, while your landlord’s insurance policy may protect the building itself in which you live, it likely doesn’t cover anything inside your apartment that belongs to you. A renters insurance policy can help give you peace of mind that you — and your stuff — have protection from unexpected events, both at home and wherever your travels take you.
Protecting You, Along with What’s Inside Your Apartment
It’s not just your possessions that renters insurance coverage can help protect. It can also help protect you. In case a claim is brought against you or you are sued by a third party, your renters personal liability coverage can help to cover the legal costs and related damages. Many renters policies provide a minimum of $100,000 of financial protection that may help if someone claims injuries or damages while in your apartment, or caused by your personal activities or those of your household members.
For example, if you are found legally responsible for accidental fire damage to the building where you live, liability coverage in a renters insurance policy may provide financial protection. This liability protection may also extend to any vacation property that you rent.
Like homeowners insurance, renters insurance can pay for necessary additional living expenses if you are unable to live in your apartment due to a fire or other loss that your insurance policy covers. You can also opt to purchase additional coverage for your valuable possessions that might have limited coverage in a typical policy, such as jewelry, fine art or silver.
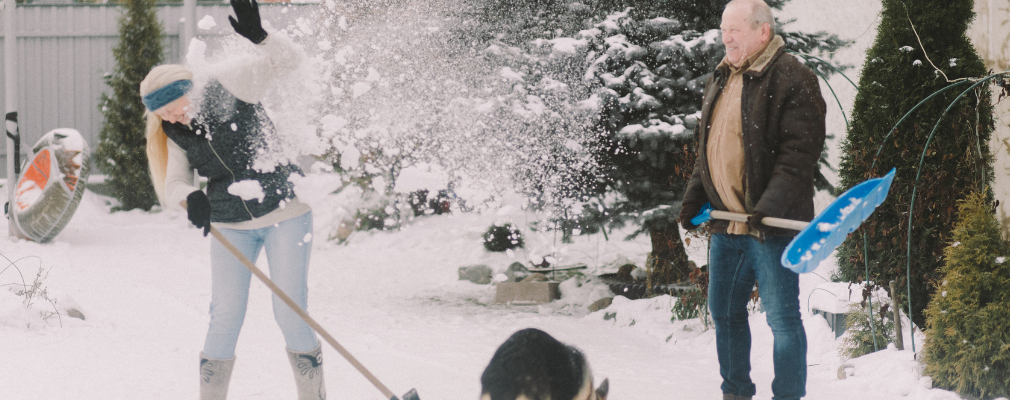
Snow Removal: Landlord's Job?
If you have a lease that doesn’t specify whether your landlord will take care of snow removal, the responsibility may fall on you. If you live in a snowy state, this is definitely something to negotiate in your lease before signing, especially if you don’t love heaving the white stuff!
Another consideration is many local city ordinances require sidewalks, streets and curbs to be clean and passable. The landlord (or tenant, depending on what the lease says) is typically required to remove snow within a certain period of time or they could face a fine. If a person with disabilities is prevented access to a certain area from snow, or worse – gets injured on the sidewalks because someone didn’t shovel – it poses an even greater and more serious problem.
Local officials often receive snow removal complaints from apartment buildings, and if the landlord and/or management doesn’t clear sidewalks or parking lots, people with disabilities may be unable to get out of their apartment. For these reasons, it’s very important to discuss who is responsible for snow removal before signing a lease! This also applies to basic maintenance for the house like mowing the lawn or raking leaves. Also, if you’re physically unable to shovel show, you should make sure the landlord documents their own responsibility for snow removal in the lease.
If you are responsible for getting rid of the snow that’s piled up outside, consider the safety tips below to avoid accidents:
- Push the snow instead of lifting it. This will put less stress on your body while you work.
- Stretch before you begin. Similar to a workout, it is important to do this to warm up your muscles before you shovel.
- Stay hydrated. When you are doing any physical labor it is important to keep your body hydrated. And take frequent breaks so you don’t exhaust yourself.
- Don’t touch any moving parts on the snow blower. This could save your hands and fingers from a very serious accident.
- Do NOT run a snow blower in an enclosed place. Just like a car, you can be at risk for carbon monoxide poisoning.
- Never leave a snow blower unattended when it is turned on. Even if you are leaving for a small amount of time, always shut it off.
And, of course – don’t forgot to bundle up before you go outside!
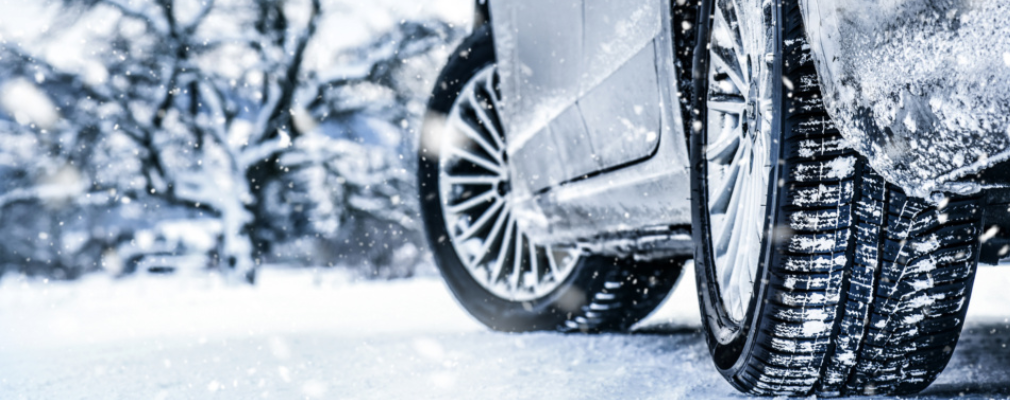
Winer Auto Safety Checklist
1. Make sure your antifreeze reservoir is full
This chemical makes the freezing point of your car much lower and will protect your radiator from freezing throughout the night. You can either open the cap on the radiator or simply check the ‘full’ line on the side of the reservoir to ensure you have enough the last through the winter.
2. Test defroster
This handy tool can sometimes stop working at the most inopportune times. Check both front and rear defrosters to make sure all fog and crystallized ice can just melt away at the click of a button. Generally, if your air conditioning or heating is working, your defroster will be working as well.
If you are a part of the 19% of people that properly check and inflate their tires, good for you! But for those of you that do not, Foremost® strongly suggests that you check your tire pressure before the snow hits this winter.
4. Check tire tread
Every year, an estimated 90 people die and 3,200 receive injuries in crashes influenced by tire aging! Use the quarter test to check treads.
5. Maintain a healthy battery
Maintain a healthy auto battery to make sure you don’t end up having to jump start your car in below-freezing temperatures. Make sure headlights, passenger lights, and GPS/phone charger power sockets are all turned off before exiting your vehicle.
6. Keep fuel levels high
If you like to live on the edge when it comes to your fuel-tank levels, you may want to try otherwise this winter. Condensation can form in the empty part of your gas tank, which then freezes in winter’s cold temperatures and keeps your car from starting. The best way to avoid a frozen tank is to keep your fuel levels at least half full during the winter.
7. You should also check for:
- Window wiper efficiency
- Blue washer fluid
- Ignition lights
- Oil
Don’t forget to keep a warm blanket in your trunk, and of course, if you feel that conditions are too dangerous to drive, stay where you are.

Check List For Snowbirds
1. Forward your mail
This is something you can do without leaving your house! Try logging on to www.USPS.com and clicking the “Track & Manage” tab. The United States Postal Service (USPS) can forward your mail for up to one year. For flyers or anything else that comes to your door, ask a neighbor or a family member to occasionally check your home for anything that accumulates on your doorstep or in your mailbox.
2. Do not turn off the heat
Set your thermostat between 55 and 60 degrees. If the house temperature is too low, your water pipes could freeze.
3. Shut off the water
Doing this minimizes the risk of a flood. Be sure to turn off any valves inside, including automatic irrigation systems. To avoid any type of water leaks, it’s always an option to have your pipes drained by a professional.
4. Prep your appliances
Depending on how long you’ll be gone, consider unplugging your refrigerator to cut down on energy costs. Be sure to clean it, throw out all of the food and leave the fridge doors open to prevent mildew. Other appliances you can unplug are your washer and dryer, microwaves and televisions.
5. Perform exterior maintenance
If you live in a snowy area, arrange for someone to plow your driveway and sidewalks to avoid any liability issues. Make sure to also clean out your gutters so water drains easily. And of course, don’t leave out any outdoor furniture or flowerpots that could blow away in the wind – put these items in storage!
6. Perform indoor maintenance
Check your smoke alarm and make sure it has brand new batteries. If you have a chimney, close the flue to keep out any unwanted visitors such as birds, bats or squirrels. Putting a guard on top of the chimney is also something to consider. To put your mind at ease, go around and do last minute checks on all of your doors and windows. This is your last opportunity to make sure all of the locks work properly.
7. Consider setting up light timers throughout the home
This will make it look like someone is home and ward off intruders. It’s also not a bad idea to close all of the drapes at every window so no one can see that you’re gone.
8. Inform neighbors that you’re leaving
It’s beneficial to have someone nearby on close watch in case they see anything suspicious around your home while you’re gone. Be sure to give them all of your contact information in case of an emergency, and let them know when you’ll be returning.
Remember, give yourself enough time to prepare and finish your checklist. There’s nothing worse than feeling like you’re forgetting something, so I hope these tips help you make your move with peace of mind. Enjoy the sun, and be safe!

Know The Lingo: Tips When Buying First Home
If you’re looking to purchase your first home, it’s important to know the lingo! No matter what stage you’re at in the home-buying process, the terms defined below will help as you learn how to make an offer you’re comfortable with and that the sellers will love. A real estate agent will reference these definitions, but for newbies, it’s nice to understand the ‘simple’ answer.
Mortgage
A mortgage is a loan agreement between you, the home buyer, and a bank or other creditor. They lend you the money and you get a home. To repay the bank or creditor for providing this money, the home buyer agrees to pay back the amount they borrow to purchase the home (the principal) plus an additional amount of money as interest.
You can change the repayment terms on a loan by choosing a 15-year fixed rate mortgage instead of a 30-year fixed rate mortgage, which means you’ll pay off the loan principal and accrued interest in 15 years instead of 30. This will increase your monthly payment, but will decrease the total amount of interest you pay over the life of the loan. Note: there are many different types of mortgages! While I only mentioned a 15-Year and 30-Year Fixed Rate Mortgage, there are also variable rate and alternative loan programs like FHA (Federal Housing Administration) and VA (Veteran Affairs).
Down Payment
A down payment is a percentage of your home’s purchase price that you pay up front when you close your home loan in addition to the money you borrow. Lenders often look at the down payment amount as your investment in the home. Not only will it affect how much you’ll need to borrow, it can also influence:
- Whether your lender will require you to pay for private mortgage insurance (PMI). Typically, you’ll need PMI if you put down less than 20% of the home’s purchase price.
- What type of loan is best suited to you, such as a fixed-rate or adjustable-rate mortgage.
- Your interest rate. Because your down payment represents your investment in the home, your lender will often offer you a lower rate if you can make a higher down payment.
Private Mortgage Insurance (PMI)
If you are unable to pay 20% down on your home purchase, private mortgage insurance may be required by your lender. PMI is a special type of insurance to protect a lender (the bank or creditor) against loss if a borrower (you) defaults on your obligation to repay the loan. This type of insurance is costly and is not required if you can afford a 20% down payment.
Even if your lender requires you to obtain PMI, you may not need to carry the PMI over the life of the loan. Check w/ your lender about your options to terminate the PMI once you have achieved a specified level of equity in your home.
Appraised Value
Many lenders require a formal appraisal by a licensed appraiser to ensure the value of your home is at least as great as the purchase price. This appraisal occurs between when your offer is accepted and when you close on the house. While you may have offered $180,000 on a house, if the appraiser returns and says the house is worth $170,000, you either have to pay that $10,000 difference in cash or ask the seller to reduce the purchase price to $170,000.
Earnest Money
Earnest money is submitted with your offer to demonstrate your intent to follow through with the sale if your offer is accepted. The appropriate amount of earnest money varies from market to market; your realtor can advise on what is customary for your situation. Earnest money can be handled in many ways; the following are common scenarios:
- Allocated to Down Payment or Closing Costs: If all contingencies on your offer are met and you proceed with the purchase of the home, you can allocate this earnest money to your down payment or closing costs.
- Reclaimed: If one or more contingencies on your offer are not met, for instance the home appraises under offer price, or it fails inspection, you typically allowed to reclaim your earnest money.
- Say ‘Goodbye’ (Surrendered): If all contingencies are met but you back out of the contract, you may not be entitled to get your earnest money back.
Closing Costs
These are the costs incurred for the various expenses involved in the home buying transaction like title insurance, loan origination fees and appraisal fees. These costs vary widely from transaction to transaction. Your realtor and lender can assist you with learning more about the closing costs for which you will be responsible, but you can safely assume an average between 2%-5% of the purchase price.
Remember, you as a buyer are responsible for paying your closing costs in addition to your down payment. So while you might have $30,000 saved up for a 20% down payment, you will also need additional funds to afford closing costs.
Closing Date
The closing date is the date sign all the documents necessary to officially purchase a house. This is typically about a month after your offer is accepted. However, do not confuse this date with possession date, which is defined below.
Possession Date
At closing, you officially own the property. However, you may have agreed in your purchase agreement to allow the former owners to keep possession of the property until a later date. This means that although you have paid the down payment, paid closing costs, and are now responsible for the mortgage, you still do not have the right to move into your new home.
Possession dates that don’t line up with the closing date generally occur because the sellers need time to find a new place to live. However, the buyer must agree to a later possession date as part of the purchase agreement in order for the seller to retain possession of the property after the closing.
Inspection
A home inspection is a non-invasive, examination of the condition of the house that is designed to identify any problem areas with the property. The home inspector typically looks for evidence of insect, water or fire damage that may affect the value of the property. They will likely check heating, cooling, electrical and plumbing systems. They also may check structural items like the floors, walls and ceiling as well as the roof and attic. If your house has a basement, it should be examined for leaks and to make sure it has the proper supports in place. Remember, a home inspection is an examination of the property’s condition, and is not the same thing as a home appraisal. If your inspector finds damage in the home, you may be able to negotiate that the seller fix the issues or agree to a lower purchase price.
Buying a house is complicated! But once you find the one that makes you feel at home, the headaches seem to be worth it.
Tips For Effectively Filing Claims
While the claims process isn’t something many eagerly look forward to, there are definitely ways you can make it a less stressful experience. To help you successfully navigate the process, here are several tips for effectively and efficiently filing claims.
1. Keep an inventory of all your insured possessions
Be proactive! If you keep a written document of your possessions, it can help make the claims process much easier if you experience a loss. Go from room to room and record each item and its value to prepare an inventory. An easy way to do this is to take photos or videos of each room and all of the contents in the rooms. Consider keeping receipts with the purchase date and original cost for your records too, in case of total loss. Your inventory list should be consistently updated, which can be done easily if you record new items shortly after purchasing them. Pro Tip: Your inventory should be easily accessible. It is a good idea to keep a couple copies of your inventory at different locations, with one location being off-premises in case of a total loss, like a fire.
2. Reach out to your agent first
In the event of a potential claim, it’s best to contact your agent directly instead of the broader insurance provider. Your agent will be able to explain your options and advise on whether filing a claim is in your best interest. In some cases, your agent may even file the claim for you.
3. Report your loss promptly
Always file your claim as soon as you possibly can. Of course, theft losses should be reported to the police first, and in other situations of danger and urgency, safety takes priority. But once it’s safe and reasonable to do so, you should contact your insurance agent. This is important because your policy might require you to make the notification within a certain amount of time. Not filing a claim within the time required in your policy may lead to a denial of the claim or may result in the claims process taking longer.
4. Be prepared with the right information
When you file your claim or make follow-up calls regarding the process, be sure to have the right information so your conversation is easier and more effective. Have your inventory list and the details of your loss, and keep the following information handy for your claims representative:
- The customer’s name and address
- The policy number
- The date the loss happened
- A description of what happened
- A preferred telephone number for future contact
5. Provide complete, correct information
Explain the situation accurately without downplaying or exaggerating your loss. Incorrect or incomplete information may cause complications and delays in processing the claim. Additionally, materially misrepresenting the facts of your loss may result in a loss of coverage.
6. Record important details from all correspondence
While going through the claims process, be sure to write down important information from your phone conversations and in-person meetings with claims representatives and other contacts. This should include the time and date, as well as the name and title of the person you spoke with. This will help you stay organized and create records that may come in handy later.
7. Make appropriate emergency repairs
If you’re dealing with property damage it may be necessary to make immediate emergency repairs to prevent additional damages, such as calling a plumber to repair a broken pipe. Your policy might cover the costs of these emergency repairs, so be sure to inquire about them when filing the claim. It is also important to take photos or even videos before making the repairs, and save the receipts from all of the work that is done.
8. Ask questions
Don’t be afraid to ask your claims representative for more information or clarification. The process will go much more smoothly if you are both on the same page and fully understand each other. For example, if there is a disagreement about the coverage of the claim, ask for the specific language in the policy that is in question to find out if it is a matter of differing interpretations.
Overall, it’s important to have patience because every insurance claim is different! Some may be completed quickly, while others may take a few weeks or even months to be resolved. You never know when problems will arise, but these tips can help you to effectively address the situations and smoothly navigate the claims process.


