9 Steps for Winterizing Your Home

Winter is fast on our heels and there’s no time like the present to prepare for the cold season. Winter storms can devastate your home. Ice, snow, rain and wind are all potential dangers, but taking these 9 steps for winterizing your home can make it safer and may even save you money over time.
Implement a few key changes over the weeks ahead and you’ll be happy you did when the storms hit.
1. Check your heating system.
Before firing up your furnace, boiler or chimney, have your heating system(s) serviced. It’s a good idea to have these checked at least once a year.
2. Inspect and insulate pipes.
Carefully inspect pipes for cracks and leaks, and have them repaired as soon as possible. Insulate exposed pipes and seal cracks to prevent them from bursting.
3. Know the location of the main water shutoff valve.
If your pipes freeze, the quicker you shut off the water, the better chance you have of preventing them from bursting and causing major damage.
4. Check your smoke and carbon monoxide detectors.
According to the Insurance Information Institute, residential fires and carbon monoxide poisoning increase during the winter. Regularly check your detectors to make sure they are in working condition.
5. Clean out gutters.
Remove leaves, sticks and other debris from gutters so that rain and melting snow can flow freely. This will help prevent backed up gutters and water seeping into your house through ceilings and walls.
6. Trim trees and remove dead branches.
Ice, snow, wind and rain can cause weak trees and tree limbs to fall and damage your car or home – or even people walking on your property.
7. Seal exterior cracks and holes.
To keep your energy bill low and your home free of mold, caulk openings and install weather stripping around windows and doors to prevent cold air and moisture from entering.
8. Stock up on emergency items.
Be sure you have flashlights and a portable radio with extra batteries, any necessary medications, at least three days of water and canned food for family and pets, a can opener, first-aid supplies, heating fuel, and a lighter and/or generous supply of matches.
9. Don’t forget insurance!
For information about insurance, call a AAA insurance professional at 1-866-222-7868, or visit your local AAA service center.
Protect Your Home from Frozen Pipes
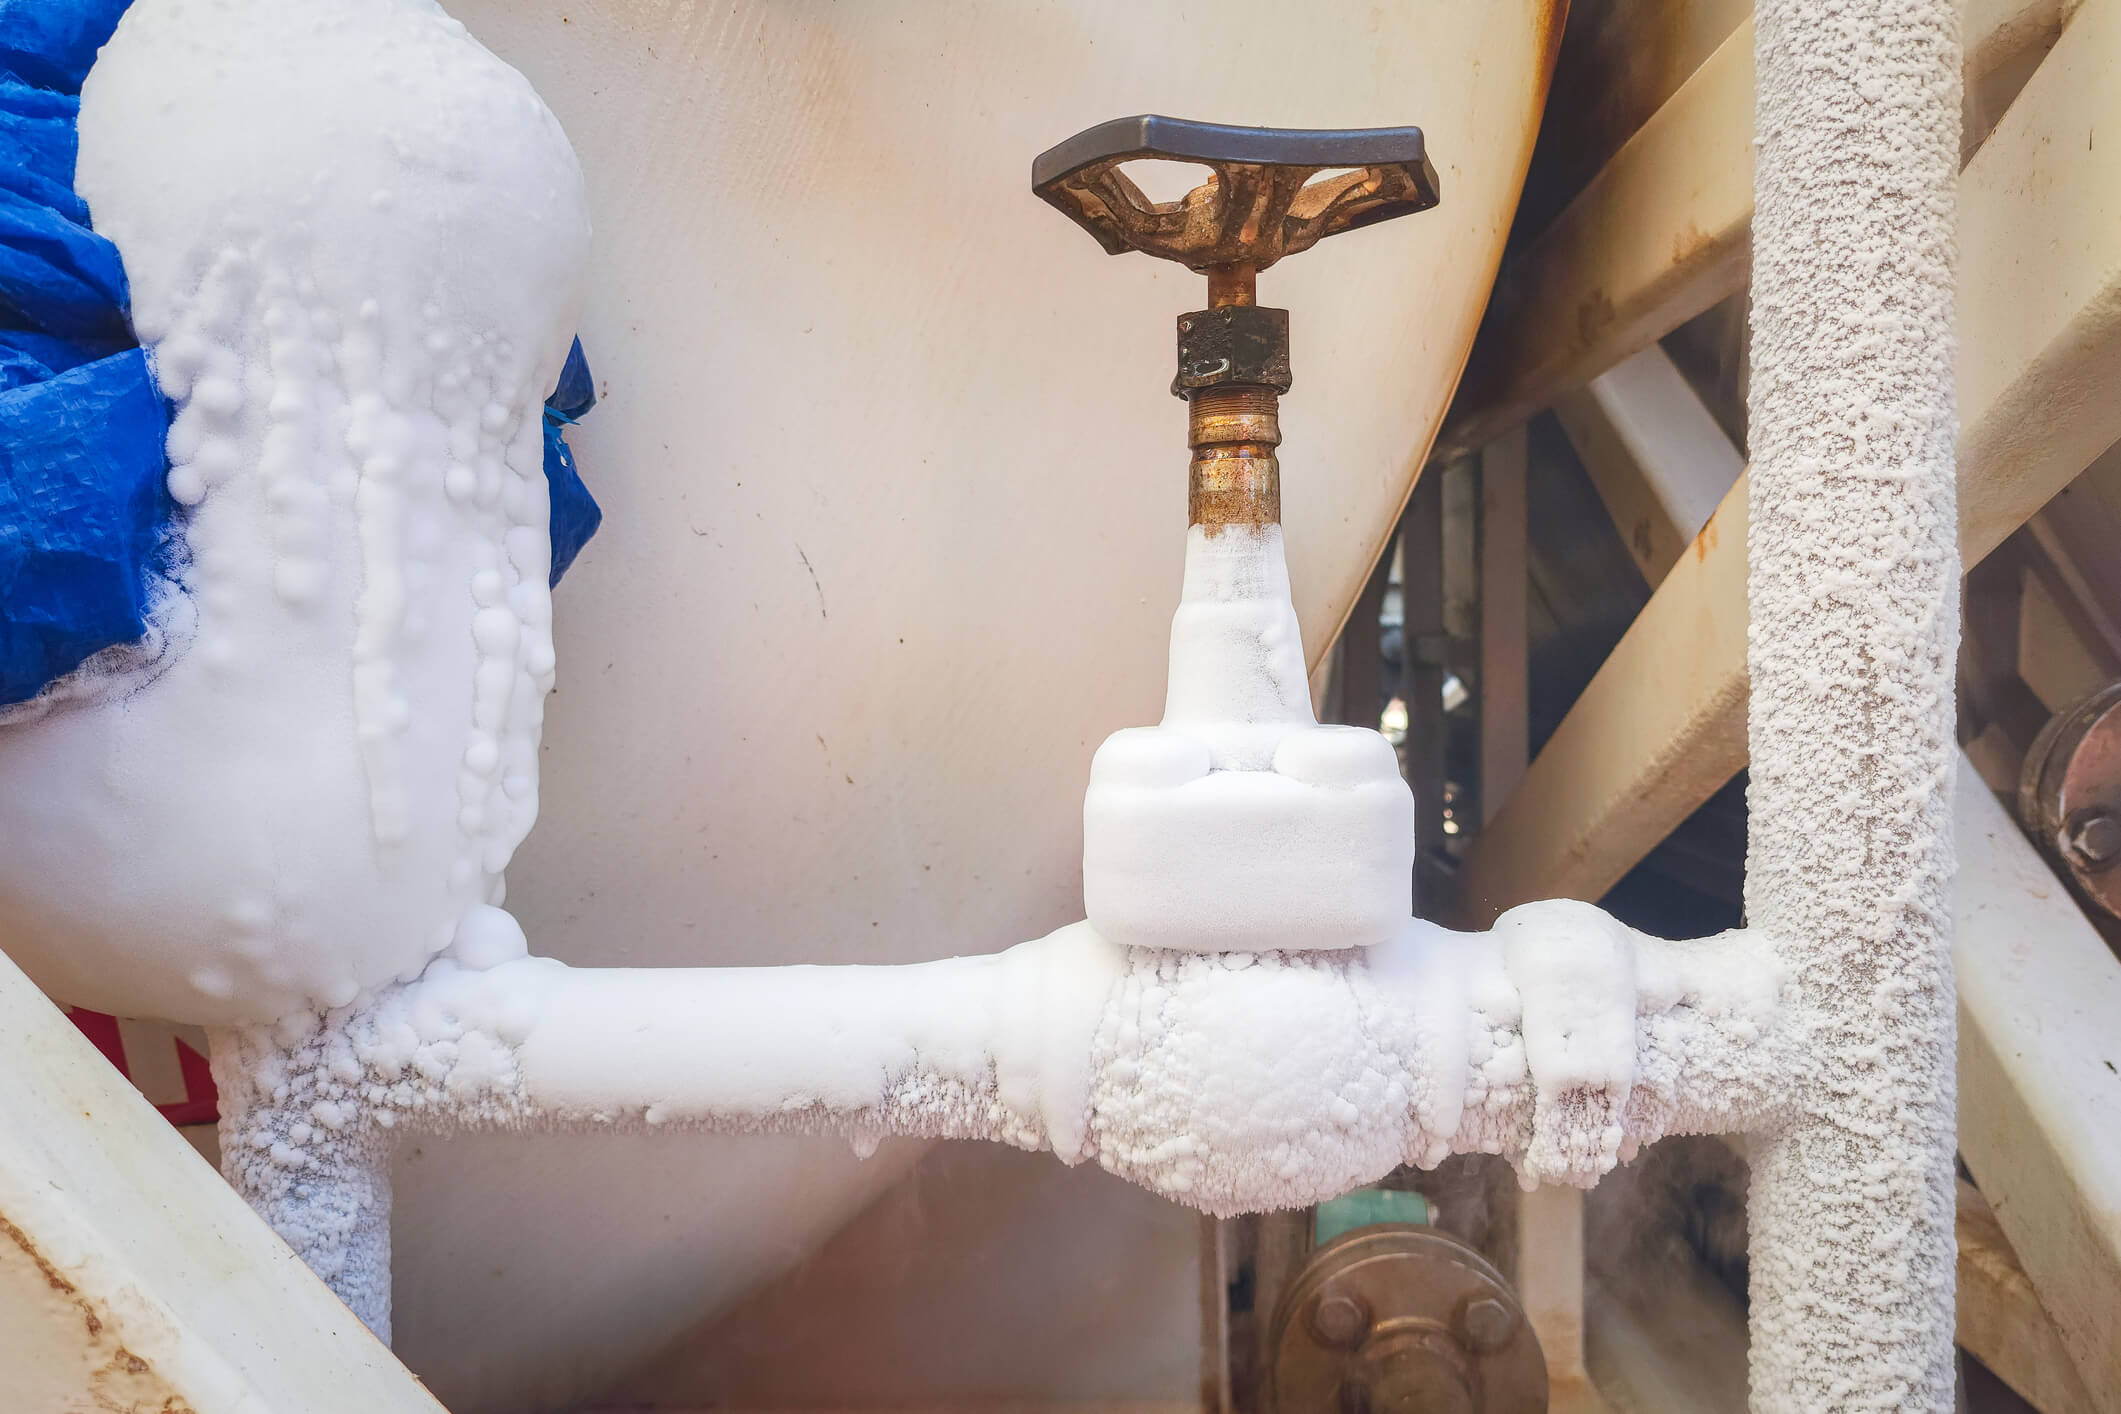
With the onset of cold weather, pipes are at risk of freezing due to sudden temperature drops, poor insulation or incorrect thermostat settings. This winter, AAA offers suggestions that can help prevent frozen pipes from bursting and causing significant damage and expense.
Freezing temperatures put your pipes at risk, and recovery can be difficult and costly. Copper, iron and plastic pipes can burst. A crack as small as 1/8-inch can spew up to 250 gallons of water per day, causing flooding, serious structural damage, and the potential for mold.
Prevent Freezing
- Make sure everyone in your family knows where the water shut-off valve is and how it works.
- Insulate pipes in your home’s crawl spaces and attic, even if you live in an area where freezing temperatures are unlikely.
- Seal gaps around pipes that allow cold air inside. You also should look for air leaks around electrical wiring, clothes dryer vents and pipes. Use caulk or insulation to keep the cold out.
- Disconnect garden hoses. If possible, use an indoor valve to shut off and drain water from pipes leading to outside faucets. This reduces the chance that pipes inside the house will freeze.
- If a freeze is expected, consider allowing warm water to drip slightly overnight, preferably from a faucet on an outside wall. Even a slight trickle may keep your pipes from freezing.
- When there is the possibility of a freeze, don’t turn down the thermostat at bedtime. Instead, maintain the same setting day and night. Drops in temperature, which are more common overnight, could freeze your pipes.
- Open cabinet doors. This will allow heat to reach uninsulated pipes located under sinks.
- If you’re going on vacation or leaving your home for an extended period of time, consider maintaining minimal heat to prevent freezing.
Recovering From Frozen Pipes
- If you turn on your faucets and nothing comes out, your pipes are likely frozen.
- You may be able to use a hair dryer to thaw a frozen pipe. Begin by warming the section of pipe closest to the faucet, then work your way out toward the coldest part of the pipe.
- Never use a hair dryer or any electrical appliances in areas of standing water. You could be electrocuted.
- Never try to thaw a pipe with a torch or other open flame. It could cause a fire.
- If your water pipes have already burst, turn off the water at the main shutoff valve in the house, leave the water faucets turned on, and call a plumber.

Prevention is the key to protecting your home this winter
A few simple steps can help you avoid a frozen pipes nightmare. For added peace of mind, it’s a good idea to make sure you have adequate homeowners insurance.
What's an Ice Dam?

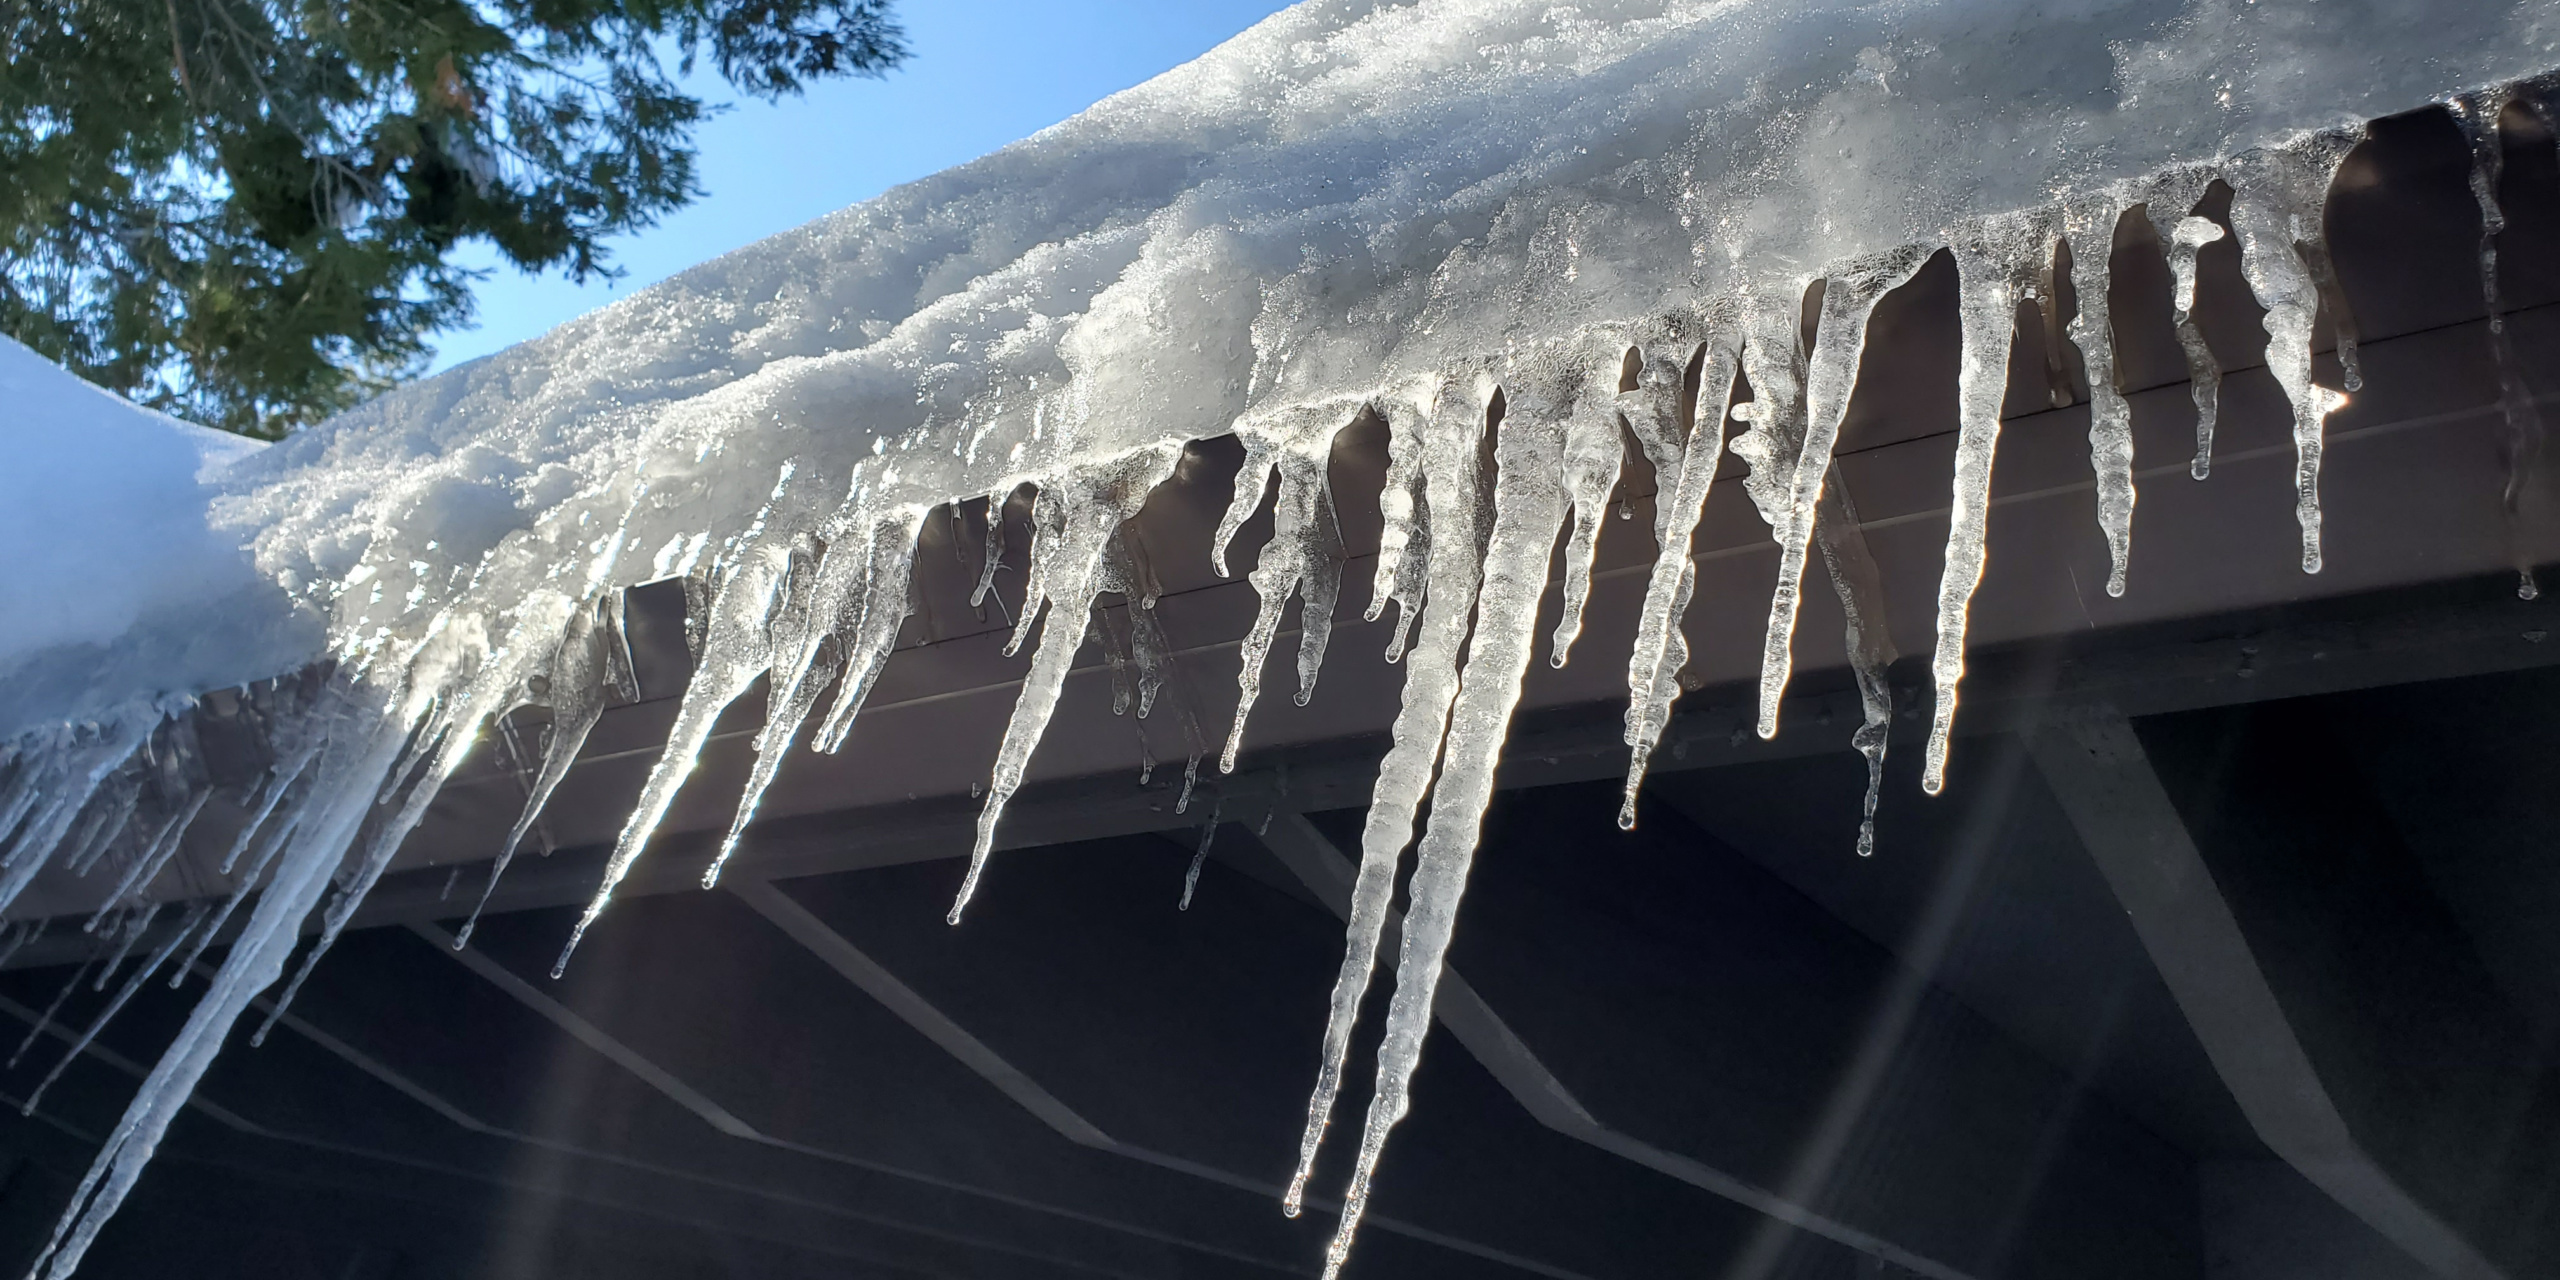
Icicles hanging from the roof may be a beautiful part of a winter wonderland – but if ice dams form, they can be expensive for homeowners. Ice dams form when warm air from the inside of your home melts snow on your roof, which then refreezes at the eaves, creating a dam. As melting and freezing continue, water pools behind the dam and could eventually leak into your home, resulting in costly water damage. So while everyone loves a good snowball fight, ice dams are one battle you don’t want to be fighting. Protect your roof and your wallet this winter by taking the necessary steps to prevent ice dams from forming.
Ice dams can be a real headache for homeowners. Not only do they look unsightly, but they can also cause serious damage to your roof and home structure. Without proper insulation, warm air from inside the house leaks into the attic and melts snow on the roof. This melted snow then refreezes at the colder eaves — creating an ice dam — which forces its way under the shingles and finds holes in the roof decking. Suddenly you’ve got water dripping into your attic! So if you want to avoid this nightmare scenario (or one even worse!), make sure that your home is properly insulated. It could save you tons of trouble – and money! – down the line.
Ice Dam Prevention Tips
- Increase attic ventilation through the use of soffit, gable, and ridge vents to help circulate air through the attic, ensuring a consistent temperature.
- Examine your insulation to make sure it’s not blocking the vents, and check its depth.
- Prevent heat from escaping into your attic by ensuring all attic ducts are sealed and properly insulated, and any exhaust fans lead outdoors, not to the attic.
- Consult a professional if your attic is a living space, you need vents installed, or insulation added.
It’s important to take steps to prevent ice dams from forming in the first place. One of the best ways is to make sure your attic insulation is adequate and properly installed. Keeping the bottom couple of feet of roof and gutters clear of snow can help minimize ice dam formation, but it’s not a foolproof solution. If you do find yourself with major ice dams, DO NOT attempt to remove them yourself or get up on your roof. Instead, call for a professional with experience in removing ice dams safely and effectively—just be sure to ask about their methods first, as chipping or sawing away at the ice can cause damage to shingles! Prevention is key when it comes to avoiding costly repairs down the line.
Don’t let a winter of ice dams lead to winter blues. If you notice water damage or leaks coming into your home, acting quickly is key. Contact your insurance provider as soon as possible and review your plan’s coverage for ice dam damage. While many policies have this protection, there could be exclusions, so it’s important to double-check. With a little bit of research, you can keep winter worries at bay. Visit the U.S. Department of Energy for more information about how much insulation you need.
The Do's and Don'ts of Winter Car Storage
Whether it’s a classic or collector car or the one you are leaving behind while you head south to warmer weather, winter car storage may be necessary for you. Here are a few tips to help ensure that when the car comes out of its hibernation, there won’t be any problems.
Clean Your Car First
Don’t put away a dirty car. Wash it and wax it and when the car is clean and dry – use a high-quality breathable car cover to protect the paint. Thoroughly clean the interior, vacuum the carpets, cleaning as far as possible under the seats. Just before you cover the car, block the engine air intake and tailpipes to prevent mice from crawling in and making a house for themselves. Just remember to remove the blockage before you start the engine.
To prevent mold/mildew buildup, use desiccant moisture drying packs. These packs are capable of staining, so put them on a disposable baking pan.
If you have problem with rodents or any other critters, also use a granular animal repellent. These repellents aren’t poison but a mixture of predator scent and in some cases a natural irritant derived from cayenne pepper.
Check Your Fluids
If it has been a while, have the oil and filter changed. If this service was done recently, check all the vital fluids to make sure they are full. This includes brake fluid, engine coolant, transmission, power steering fluid and even the windshield washer. Also lubricate all the door hinges, hood latches and door locks.
Prior to leaving the car, fill the fuel tank and add a fuel stabilizer. The fuel stabilizer will keep the gasoline from getting stale. (Typically, gasoline only has a 30-45 day shelf life.) Gas stabilizer will prevent any problems.
Pump Up The Tires
Air up the tires before winter car storage (don’t exceed the maximum inflation) and if possible, park the vehicle on squares of two-inch foam board insulation. This will help lessen the chance that the tires will develop flat spots from sitting for months. Tires will lose air over time, so don’t forget to recheck the tires inflation when you retrieve the car.
Take Care Of The Battery
When it comes to the vehicle battery, you have a couple of choices. You can disconnect the battery and deal with resetting the cars clock, radio and power seat memory, or you can use a battery charger designed for long-term storage. These float-style chargers maintain, rather than recharge a battery.
Where To Go For Winter Car Storage
If the vehicle is in a garage, block any holes that could allow critters in. Mice and other animals can do thousands of dollars worth of damage to a vehicle – anything from making your car their home to chewing wires and hoses.
If you are parking your vehicle out on a dirt or gravel driveway, roll out heavy plastic sheeting or a plastic tarp about the size of the car. This will minimize moisture coming up from the ground. Chock/block the wheels if you are worried about the car rolling. But do not use the parking brake. The parking brake can rust from sitting and could be a problem if stuck in the applied position.
Taking Your Car Out Of Storage
If you have properly stored your car for winter there will be no need to start it during the season. Some people make the mistake of starting their vehicles every week or so. Just letting the engine run does nothing to help maintain the car and only contaminates the engine oil.
When it is time to take the car out of storage, remove any tailpipe and air-intake covers as well and the battery charger. If you disconnected the battery, charge it before trying to start the car. Look under the hood as a quick check before starting the car and then drive it like a brand-new car – nice and easy. You may notice some odd sounds at first. This is probably the result of the car sitting for so long. If these noises don’t quickly go away, have the car inspected by a reputable repair shop.
AAA Is Here To Help!

AAA Assurance
- Premium Equipment with Advanced Encryption
- 24/7 AAA Monitoring1 Protection
- No Long Term Monitoring Contracts
- Member Exclusive Savings
With AAA, you can count on total peace of mind for your home. That’s AAA Assurance.
1Professional monitoring requires a subscription to monthly monitoring plan.

